Vinyl has made a strong comeback in recent years. It's a format that offers many advantages, but requires careful preparation, especially regarding audio. Find in this article our advice to best prepare your vinyl release.
THE RIGHT TIMING
One of the first things to consider for vinyl pressing is the production time. Indeed, it's impossible to expect to send your record for pressing 10 days before the album release. The manufacturing process, which is extremely technical, as well as the supply of raw materials, leads to lead times ranging from 6 to 11 weeks, or even 16 to 18 weeks in some factories, depending on the time of year.
It is therefore essential to plan your release well if you want to release your album on vinyl. It's not uncommon for labels to work with a 6-month to 1-year schedule to set up all aspects of an album release (pressing, but also communication and press relations).
THE VINYL MANUFACTURING PROCESS
But why does producing vinyl take so much time?
Here are the manufacturing steps
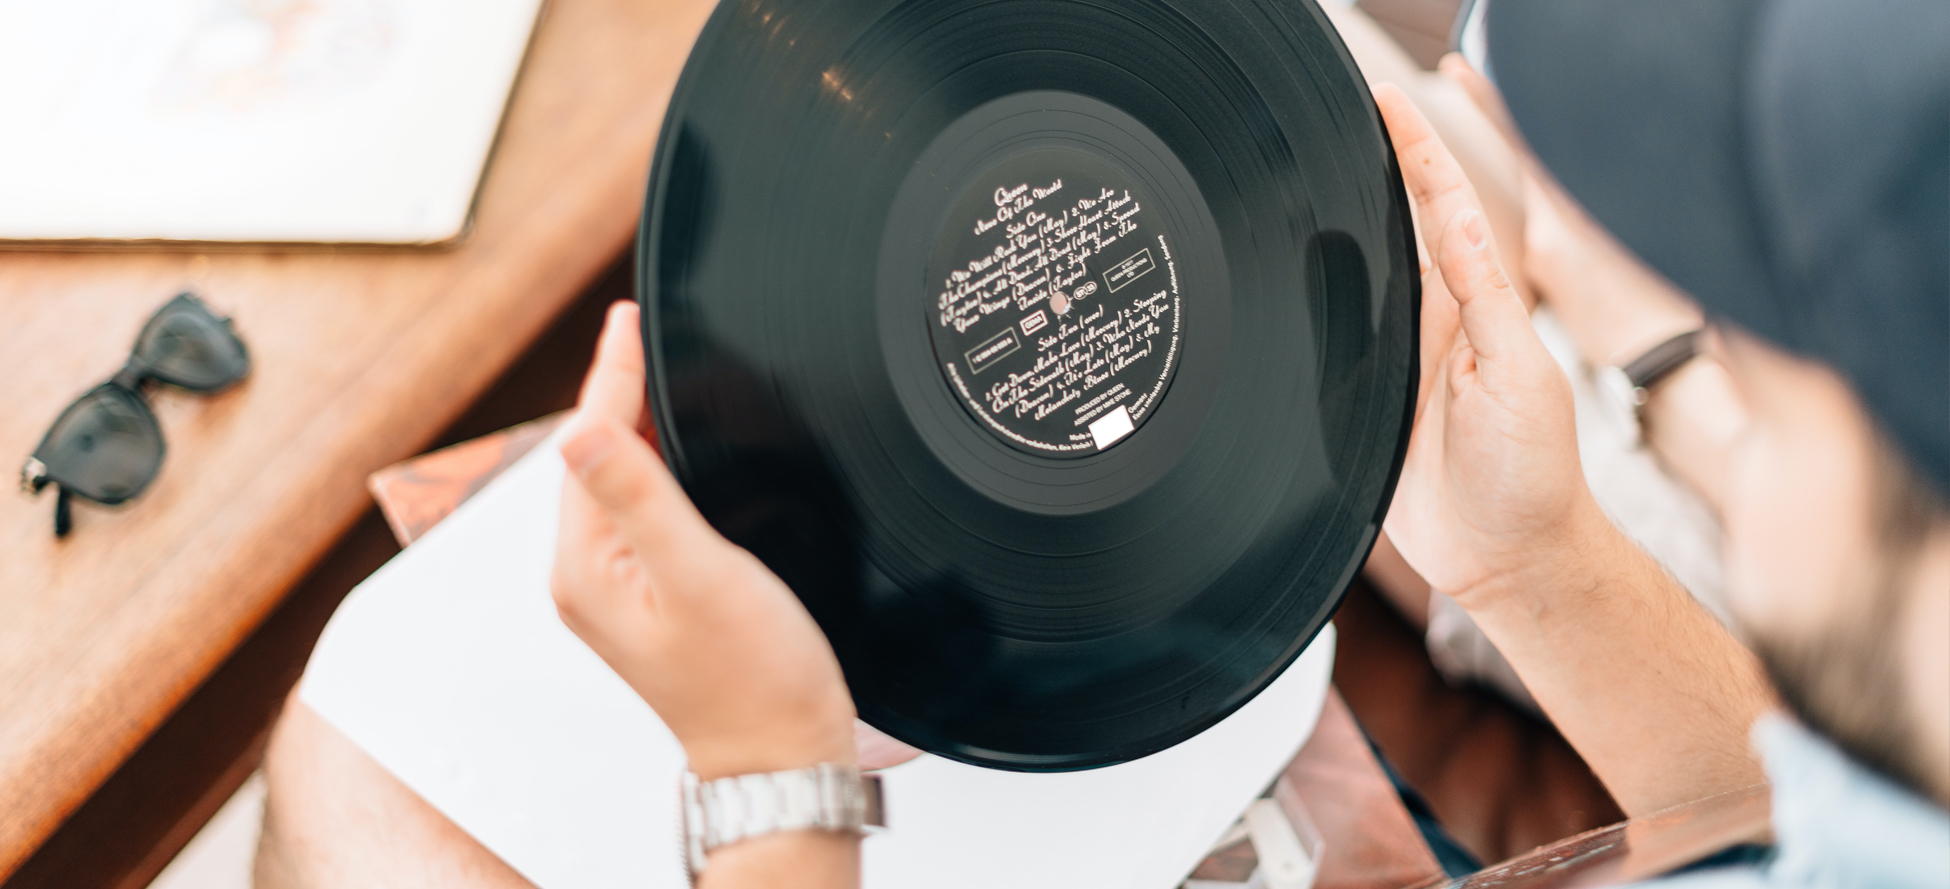
Audio control of the master.
At Distrolution Merch, we are musicians in the team and we have already released several albums in vinyl format. We are therefore fully aware of the expectations regarding this mythical medium, but also of the budget it represents for an artist or a label. That's why we chose to carry out a control of the audio master that is provided to us, before moving on to the next steps. This control, which is rarely done, unfortunately, to reduce production costs, is nevertheless crucial and avoids a lot of disappointments and additional costs... Know that half of the masters we receive have a mastering issue, which can be easily corrected to ensure a quality final production.
We therefore check the important points that we will come back to later in the article and we provide you with a diagnosis. If it's negative, you can make the suggested corrections to your mastering (or not...), and if the results are satisfactory, we move on to the next step...
Cutting
This involves cutting the audio signal in the form of microgrooves on a disc that can be acetate or copper.
There are two methods of cutting a vinyl record: the traditional lacquer method and the DMM method (Direct to Metal). We have favored the traditional lacquer method which is carried out on a matrix covered with a thin layer of cellulosic lacquer. A heated stylus traces the microgrooves on the thickness of the lacquer. This process is longer and more expensive but offers a warmer rendering that makes the "vinyl sound", compared to the DMM method which is faster and less expensive but less pleasing to the ears of the most audiophile.
Once the cutting is done, the grooves are carefully inspected and the vinyl reference is engraved in the center. Look at one of the vinyl records in your collection, near the label in the center, you'll surely find a reference, sometimes hand-engraved ;)
The cutting of lacquers is therefore a long and precise step, carried out by true sound craftsmen, very few in number. We can already understand a bit more why there's such a long manufacturing time. To this, we can also add the difficulty in sourcing lacquers. Indeed, there are only 2 factories in the world that produce them, one in Japan which represented 25% of world production, and another in California which unfortunately partially burned down 2 years ago, leading to a severe shortage and a considerable lengthening of production times, as you can imagine...
Galvanization
Galvanization, also called MetalWork, is the next step in creating the matrices that will be used for pressing. It's a chemical process during which the lacquers are sprayed with silver, before being immersed for several hours in a nickel bath to solidify them by electrolysis. This first bath allows the creation of the "Father" matrix, consisting of grooves in hollow, a perfect negative of the imprint from the lacquer cutting. The second bath is made from the "Father" negative to create the "Mother" matrix. The latter will be kept to make new matrices, in case of additional pressings, a set of matrices, or stampers, allows pressing on average between 500 and 1000 vinyl records while maintaining good quality.
The matrices are then pierced in their center and calibrated to the diameter of the pressing machine.
Packaging printing
Parallel to these processes related to the manufacture of the record, the graphic files of the sleeves, labels and possibly inserts, if you ordered them, are checked, then printed and crafted (cutting, folding and gluing). The sleeves can receive a matte or glossy varnish, included in our prices, but also receive a selective glossy varnish on certain parts of the visual, gilding or even be printed on the raw side of the cardboard for a unique texture (reversed board), these last finishes being available on request.
Pressing
Pressing is one of the last steps in manufacturing vinyl records. The matrices of side A and side B are placed on the press. Depending on the weight of the vinyl (140g for standard, 180g for "heavy"), a heated polyvinyl chloride donut is added to make the record more malleable for pressing between the 2 labels. So we have a "label / vinyl material / label" sandwich in the press. Then comes the famous pressing. This pressure of nearly 100 tons allows the grooves of the matrix to be imprinted on the polyvinyl chloride and the labels to adhere. The vinyl is then trimmed of excess material.
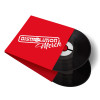
At Distrolution Merch, before launching full production, we press 5 records that will be sent to you for preliminary listening. These are the famous "test-presses", black with white labels. Once you've listened to and approved them, we can press all the vinyl records.
Assembly and packaging
Once the vinyl records are out of the press and cooled, we can proceed with packaging. Each vinyl is carefully inserted into a white or black anti-static paper inner sleeve, then into its cardboard cover, with its insert and download card or other sticker if you wish, before being wrapped in plastic film. The individually wrapped vinyl records are placed in boxes before being shipped to you by carriers, usually within 2 days. Plan for some weightlifting sessions if you've ordered 500 double gatefolds!
Files to provide us
Here's a summary of the elements you need to provide us to produce your vinyl records:
THE AUDIO MASTER
Vinyl is by definition constraining in its form and that's precisely what makes it so interesting to listen to. The success of a good vinyl pressing therefore relies on a clever mix between levels, dynamics, recording duration of the sides and even the order of tracks on the side.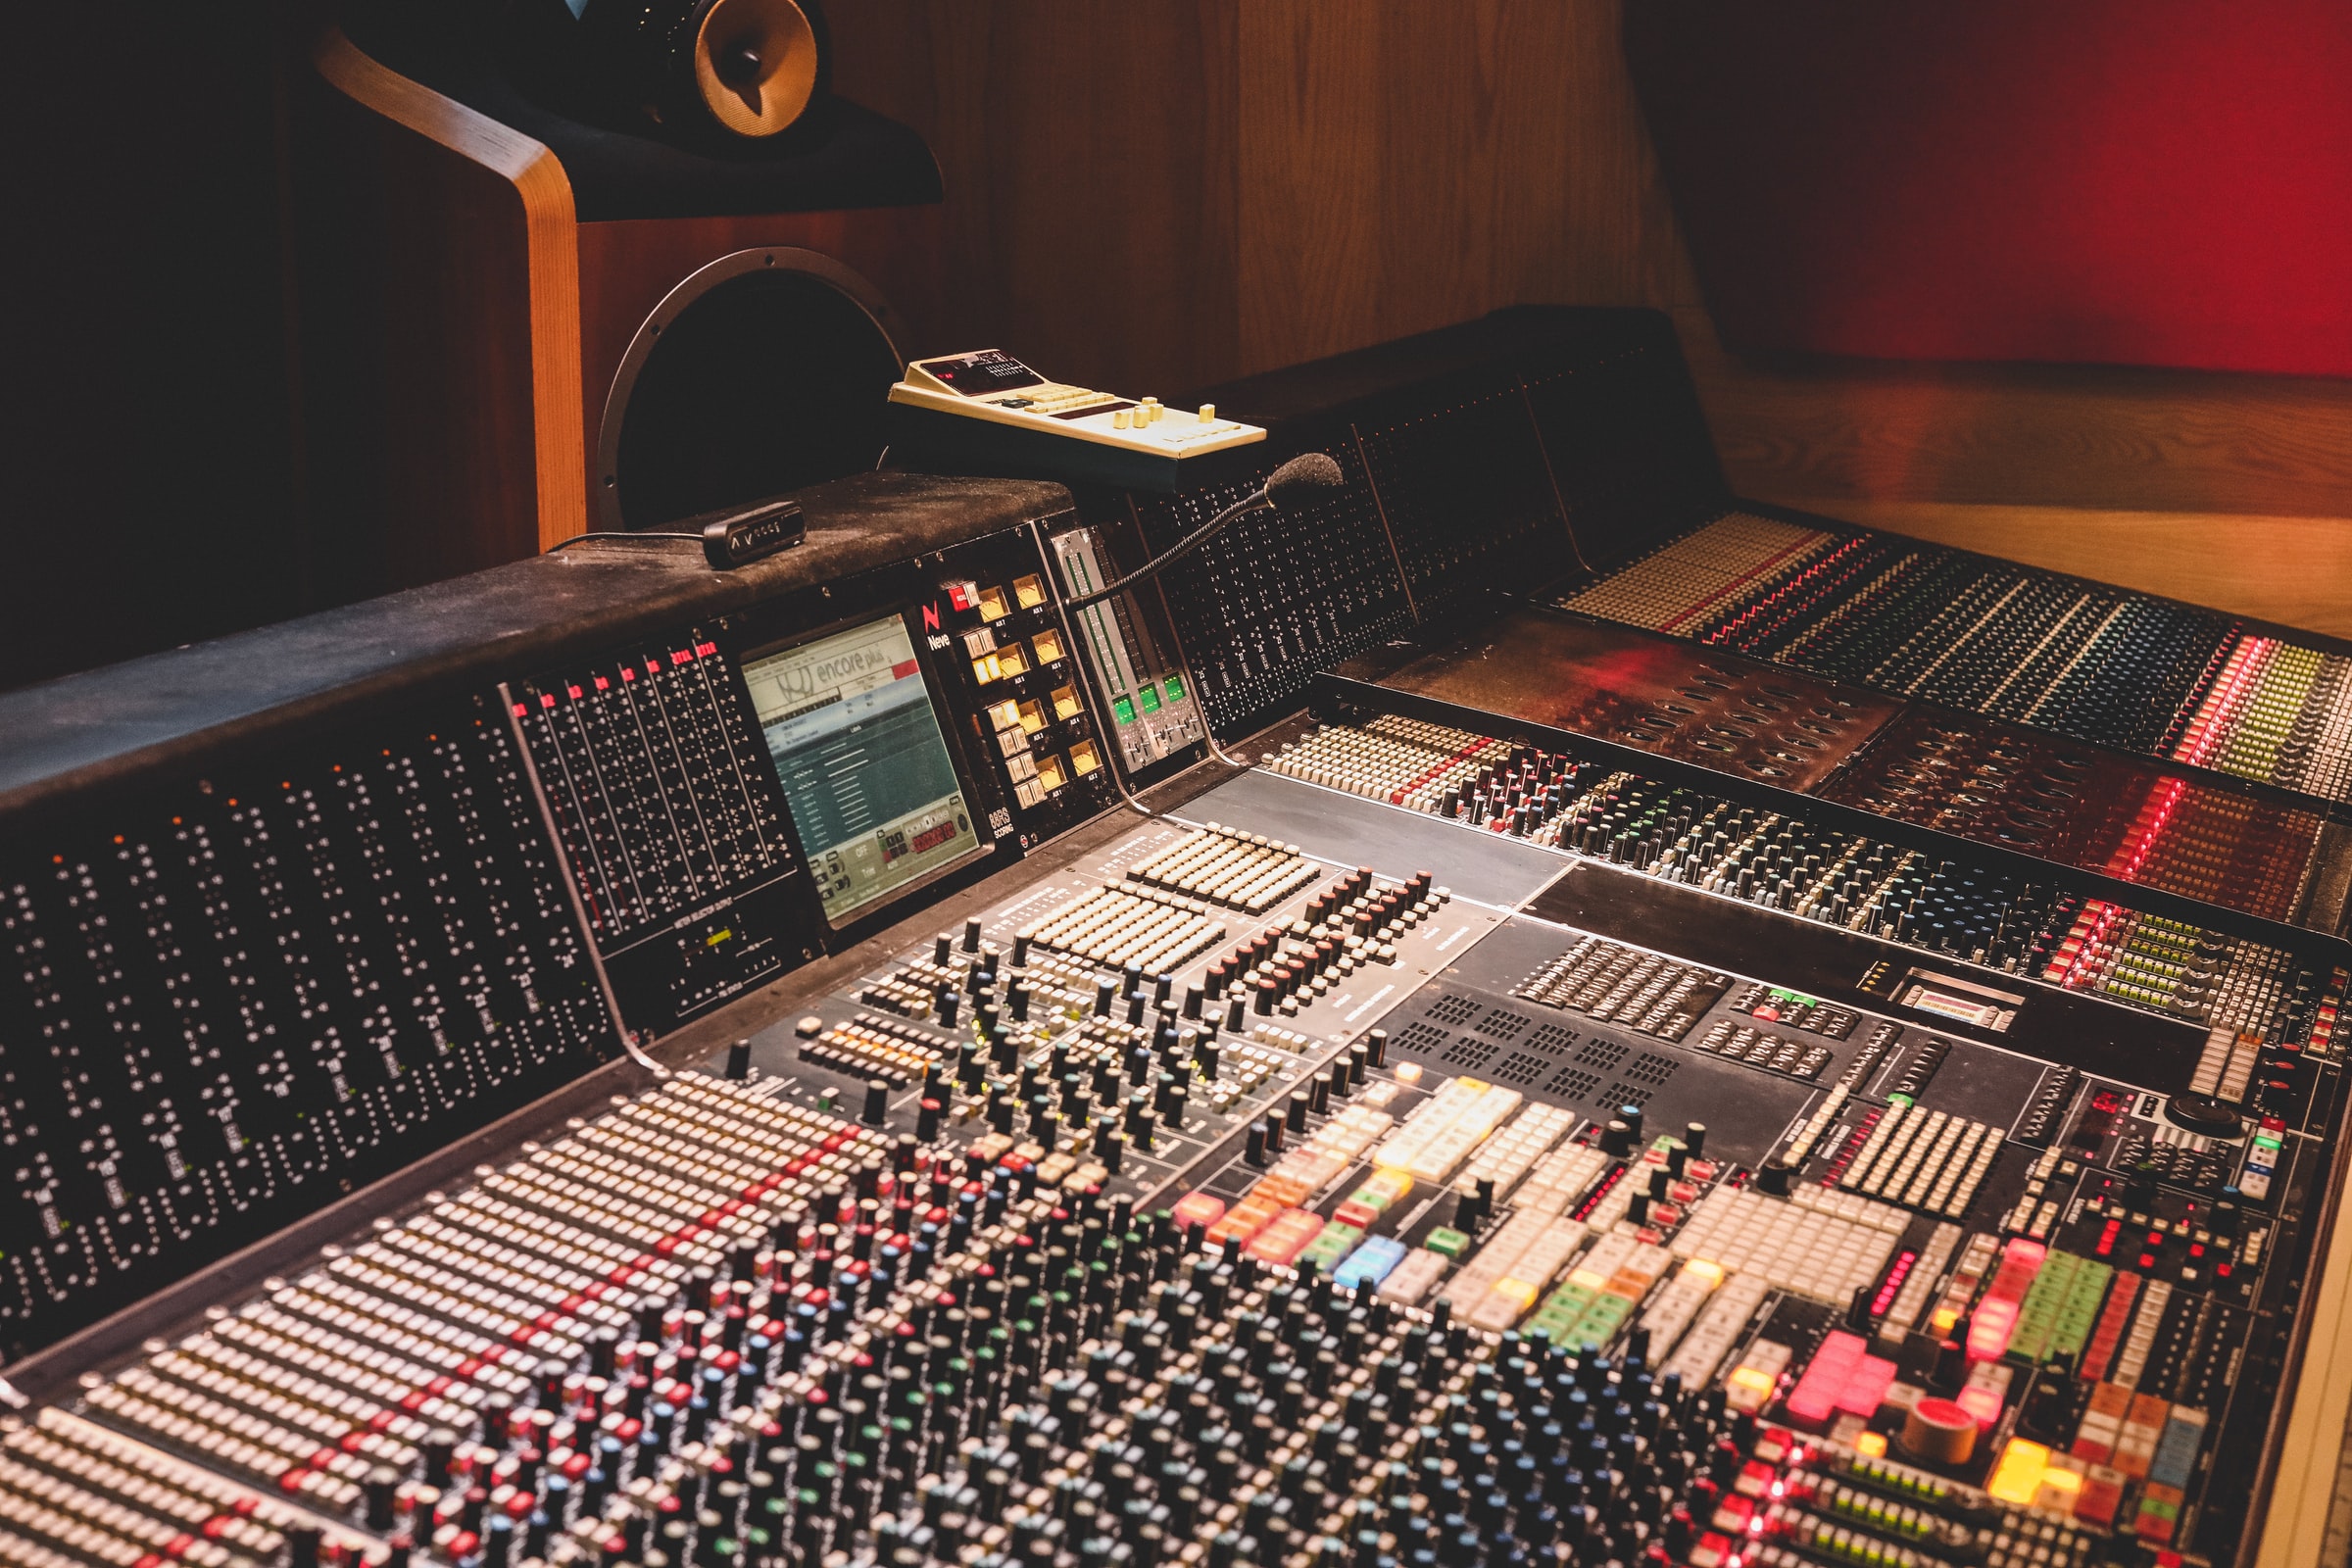
Mastering for vinyl is a crucial point in the process. Indeed, without mastering specifically done and scrupulously respecting the technical and physical constraints of the vinyl medium, there's a strong chance of disaster.
So we'll forget the idea of using a CD master that is often over-compressed.
A mastering done for vinyl will seem, when listening in .wav format on your usual sound system, less flattering compared to the one done for CD (less loud, less "punchy"... the famous loudness war...), but will sound great once pressed on your record.
Here are the technical constraints to consider and for which you need to agree with the studio doing the mastering:
- Respect a maximum level of 0 dB to avoid any clipping.
- Have a dynamic range of 13dB ideally, although it remains acceptable between 10 and 14 dB. For comparison, it's not uncommon currently to have CD mastering with less than 5 dB of dynamics...
Below 10 dB, the audio cutting level is proportionally decreased, with increased background noise and distortion that becomes very audible, or even intolerable in the most extreme cases.
- Respect the times per side. The maximum expected time for a pressing of "standardized" music type pop, rock, reggae is 22 minutes per side at 33 rpm. For more "loaded" styles (techno, metal, electro), you'll need to be below this time as much as possible... or opt for a double vinyl!
There are also these points to consider:
- The longer the duration of a side, the more the sound level of cutting will have to be reduced, and the risk of increased perception of the natural background noise of the vinyl increases.
- It's necessary to distribute your tracks well according to their duration and avoid, for example, putting 12 min on side A and 24 min on side B. The more intelligently the durations are distributed, the more homogeneous the quality will be from one side to the other.
- Low frequencies take up more space on the record than high frequencies. Masters with really excessive low frequencies are prohibited because they produce grooves that are too wide when cutting. The opposite is also prohibited, as the needle risks jumping out of grooves that are too thin.
These parameters are not absolute truths, but allow for the best possible quality. Given the investment that pressing a vinyl represents for an independent band or label, it's best to put all the chances on your side to not be disappointed! Your vinyl masters should therefore be provided to us in .wav or .aiff format, with one file per side.
Graphic files
The printing of files is done in parallel with the manufacturing of matrices. This includes printing the sleeves, labels, and if you ordered them, inserts and download cards.
Distrolution Merch provides you with templates ahead of your order. You can find them in the "Documentation" tab, a little further down, on the product page you wish to order.
If you're not an expert in graphic design, get help from a pro, or ask us for advice. We can even handle the layout, or even create your visual. The vinyl sleeve format is really a magnificent space to showcase your visual, it would be a shame not to take advantage of it!
The templates are to be edited in a professional graphic design software, such as Adobe's famous Photoshop. Our templates are already at the right size and in the right color format. You just need to open them in the software without modifying anything, do your layout, and send us your files, without flattening the layers, and by rasterizing the fonts. Thus, during the file check, if we detect a minor issue, we can easily correct it.
We then send you a preview of your product, which you can use for your communication or to launch pre-orders, as well as a digital proof (BAT) to validate your files one last time before placing them in print. All this is of course included in the price!
SDRM duplication authorization
The SDRM authorization request, a branch of SACEM, can be done online easily and quickly HERE. This authorization request is a legal obligation for any duplication, which notably prevents any label or artist from producing records with the music of another artist whose rights they do not own.
The response is generally quick, within 2 working days.
Know that if you plan to press in CD, vinyl or even cassette format, you need to make an authorization request for each format.
You will be asked to provide the manufacturer's details, here they are:
Distrolution 1 (don't forget the 1!)
185 rue de Marcq-en-Baroeul
59290 Wasquehal
France
Depending on whether you are a member of SACEM, whether the tracks are deposited there, whether you are performing covers, you will be asked to pay a flat fee (or not) based on the quantity produced, its selling price and the number of records intended for free distribution/promo.
You will also be asked to provide a catalog number / reference. For labels that are relatively used to it, no problem, but if you're releasing your record independently, you're probably wondering what it is? It's simply a reference code that you give to your release and that is often written on the spine of CD and vinyl sleeves. If Distrolution Merch were releasing its first vinyl LP, we could for example give a reference code that would look like "DM001LP"
We hope this article answers your many questions about vinyl manufacturing and its preparation. We are of course always available to answer your requests or prepare a custom quote if needed.


